head porting

Yamaha Raptor 350 & Warrior Forum

Help Support Yamaha Raptor 350 & Warrior Forum:

This site may earn a commission from merchant affiliate links, including eBay, Amazon, and others.
Midway, did your quench pad have that crescent shaped erosion mark on it like mine? Opposite of the spark plug... Wonder what caused that? Casting flaw? Detonation? I have another junk head, and it has only a small amount of the same thing.
 
Probably will. It is a winter project and depends on if I can round up some mad money to get it done. I have to buy a crank, piston, and lots of little stuff. Head will probably be the last thing I work on.

I know man, with the plans I have I need to work up about $800. I can't believe how expensive these things can get!
 
Midway, did your quench pad have that crescent shaped erosion mark on it like mine? Opposite of the spark plug... Wonder what caused that? Casting flaw? Detonation? I have another junk head, and it has only a small amount of the same thing.
No the surface on mine was flat. I noticed that, but have no idea what would have done that. It could have been detonation, but the piston should have been destroyed if it detonated that bad. Could also have been corrosion. Did it sit for a long time at any point? My chamber is unchanged also and I noticed yours is shaped a little differently. Up to now all I have done was smooth any casting perfections and removed very little material. What year is your head off of? Just wondering if the chamber shape was different on earlier and later models.
 
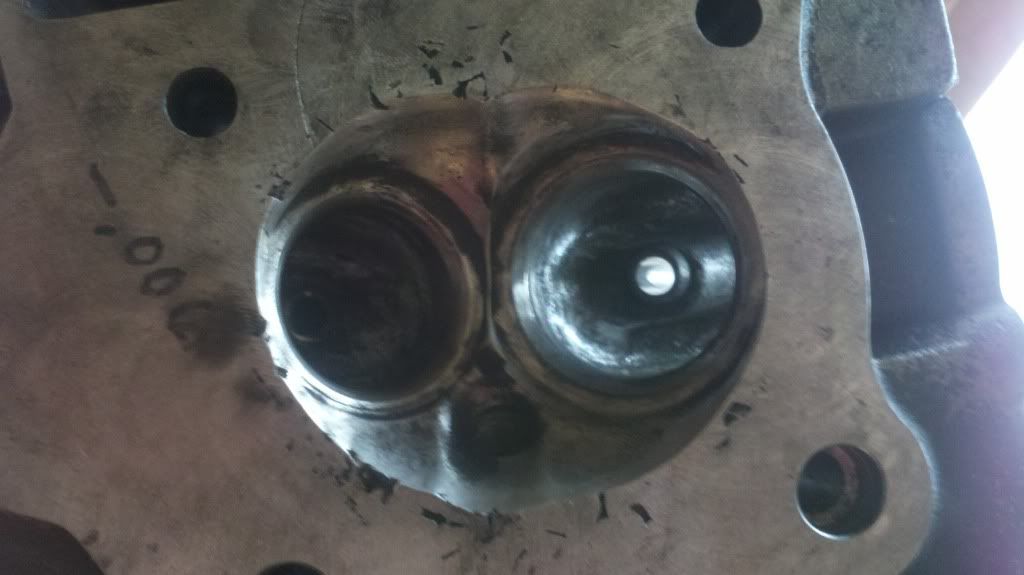
i am kinda of worried about this. this alredy has .006 off it and it still has pitting is it runnable?
2011-10-15_12-30-36_565.jpg

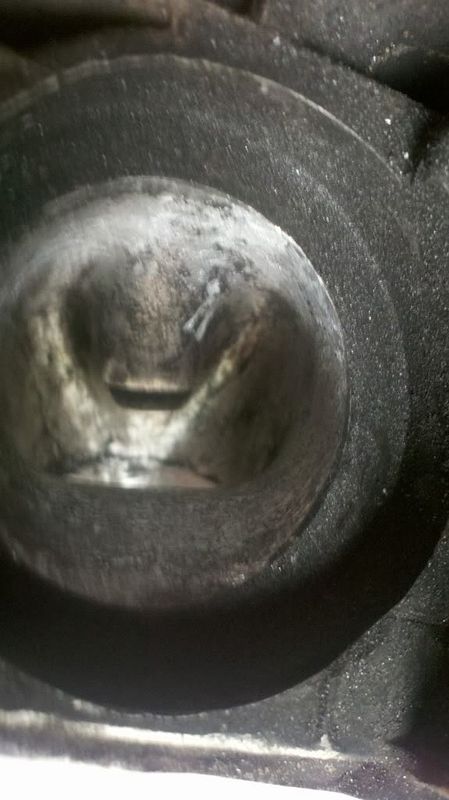
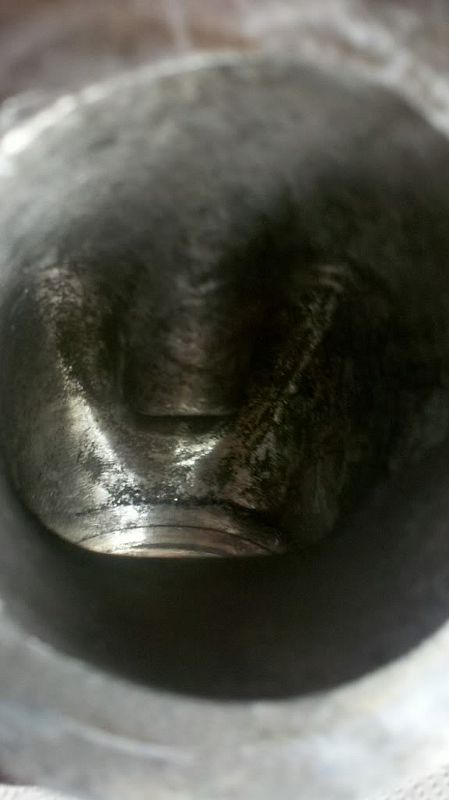
here is my porting that i did
2011-10-15_12-30-21_474.jpg

2011-10-15_12-29-55_164.jpg
 
The pits aren't really a problem. I have seen worse. Just smooth them out the best you can so you don't have any sharp edges to create a hot spot. What does concern me is that scratch in the upper left of the photo near the bolt hole. That crosses where the sealing ring of the gasket runs and that isn't good.
 
Custome head gaskets can be made in differing thicknesses

I would do a custom thickness head gasket before I started doubling gaskets. Too much potential for leaks. On automotive stuff we get different thickness MLS head gaskets all the time to alter compression or get more piston to valve clearance. Duramax Diesel stuff has many different thickness gaskets for the same reason.
 
You're thinking about this wrong again bud. If you raise the jug by multiplying the number of head gaskets you're going to drop the piston down in the cylinder & ruin the quench area. Your best bet is to mill the head until clean, leave the single base gasket & make sure that your timing chain & guides a good. Milling the head is gonna lower cam position & add a some slack to the chain. Just be sure that stuff is good, I'm gonna replace mine. Prolly an adjustable timing gear is the best bet.
 
You're thinking about this wrong again bud. If you raise the jug by multiplying the number of head gaskets you're going to drop the piston down in the cylinder & ruin the quench area. Your best bet is to mill the head until clean, leave the single base gasket & make sure that your timing chain & guides a good. Milling the head is gonna lower cam position & add a some slack to the chain. Just be sure that stuff is good, I'm gonna replace mine. Prolly an adjustable timing gear is the best bet.
Yes! But i would get a head gasket thats OEM thickness plugs what was milled off so quench is still oem
 
No the surface on mine was flat. I noticed that, but have no idea what would have done that. It could have been detonation, but the piston should have been destroyed if it detonated that bad. Could also have been corrosion. Did it sit for a long time at any point? My chamber is unchanged also and I noticed yours is shaped a little differently. Up to now all I have done was smooth any casting perfections and removed very little material. What year is your head off of? Just wondering if the chamber shape was different on earlier and later models.

Mine's a '93.
Not milled, but this pic is after decking on the glass. You can see where that erosion is a bit better. Looks like it is all clears the gasket.
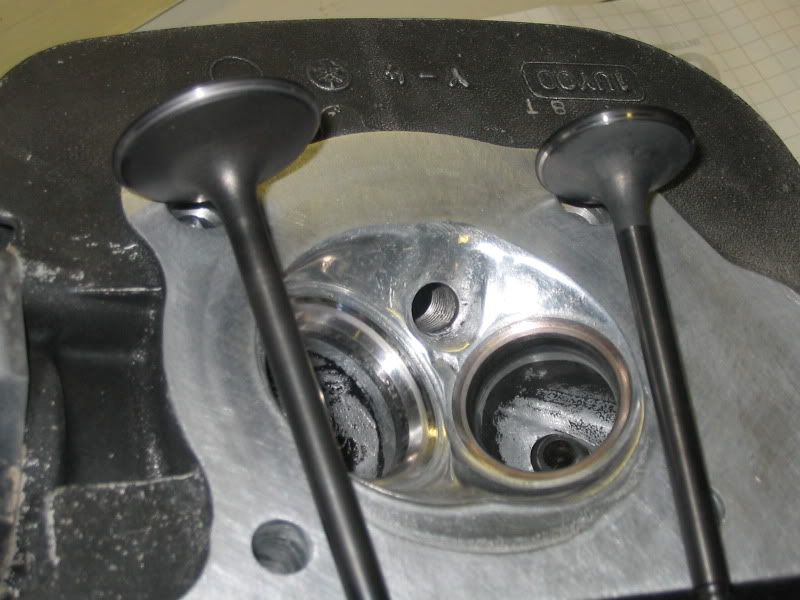
Another area of interest was the seating on the valves themselves. Exhaust was nice, proper width margin, etc. Intake was WAAAY off from the factory. The margin ran wide and clear off the outer edge of the valve. It wasn't beat into the seat too much (I've seen worse), but it took a ton of work (about an hour) with a hand operated Neway cutter to bring it into spec. I also unshrouded the valve seat in the chamber too by removing some of the aluminum.
.
valvejob.jpg

.
Be VERY careful when doing any porting work, especially in the chamber, guys. One nick off the seat and you'll need the Neway cutter to reface it. Just lapping won't fix it. If replacing valves, I'd recommend grinding the outside diameter of the old valves down, and taking a bunch of thickness out, and install them to protect the seat when doing chamber work. You can do this by chucking the valve in a drill, then using a bench grinder and the drill at the same time so the valve grinds evenly all around.
 
Last edited:
If that erosion is inside the sealing ring of the gasket, it will be fine. No one will see it when bolted up.
My seats were good when I lapped them in. I am still thinking about doing the +1 intake. If I do, I will put the head in our Tobin Arp machine and cut and unshroud everything in there. We have some cutters that do all three angles at once and also some that unshroud with a nice sweeping radius. If I had known I was going to do the larger valve, I would have waited to surface mine.
 
I just surfed on Cometic's web site. I am sure they are pricey, but they will do a custom gasket for most any application.
 
I just wish there was a way to measure the comp without pulling the head and running the numbers and do it like a comp test and convert the psi to a ratio that would be Awsome
 
I'm sure that there's a rough formula for that but I don't know where to find it. It'd be hard to be definitive with it b/c overlap & valve lash can have significant effects on the final cylinder psi.
theres a formula for 2 stroke that are petty accurate but very confusing
 

Latest posts

Back
Top