87warrior917
Well-Known Member
Well most of you know that i was starting to replace the lower steering stem bearing on my warrior and i was have quite the time with getting the 30mm collar out. So ive decided to make a tutorial for you guys and gals, if you ever have to replace this on your quad in the future.
1st step is take off the front fenders, hood, headlights, and gastank.
http://
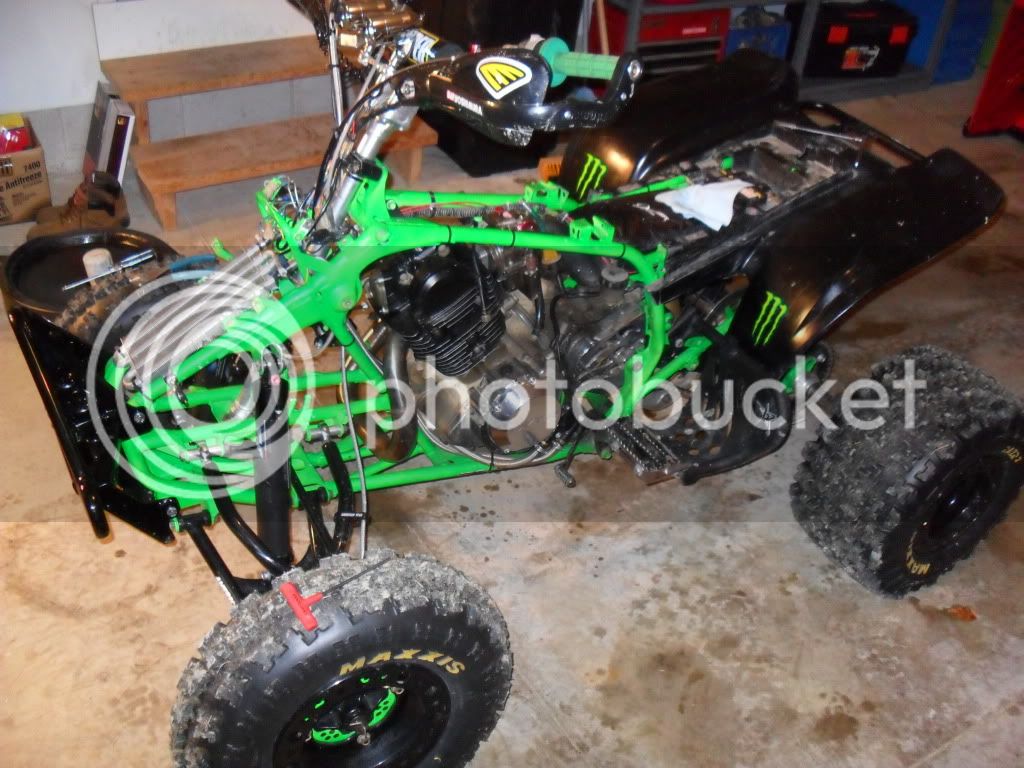
Next stand the quad on its tail so it will be easier to access the steering stem bolt. Unbolt the tie rod ends from the stem and get them outta the way. Now unbolt the bottom stem bolt so the stem can slide up and outta the way. You dont have to take the upper stem mount off, but you will need to take the handle bars off so the stem will slide up. No need to take all the controls off the bars, just unbolt the bars and move them outta the way.
http://
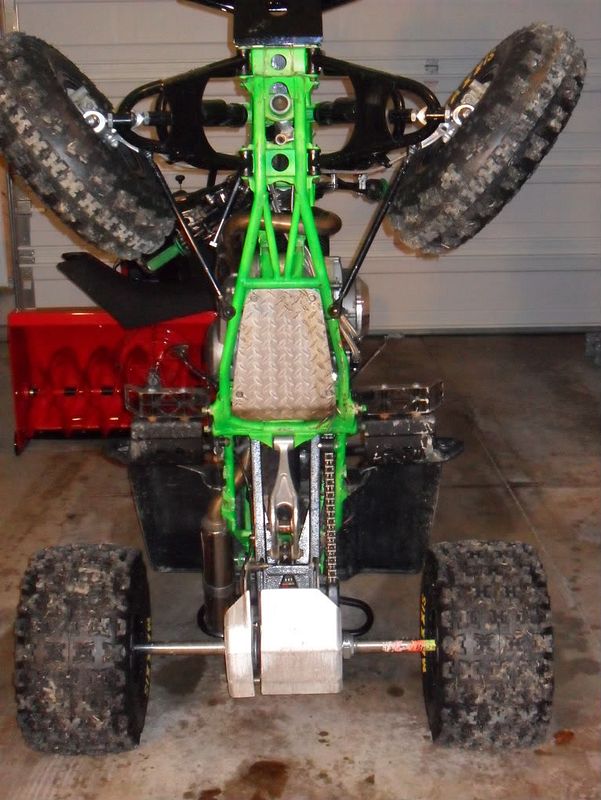
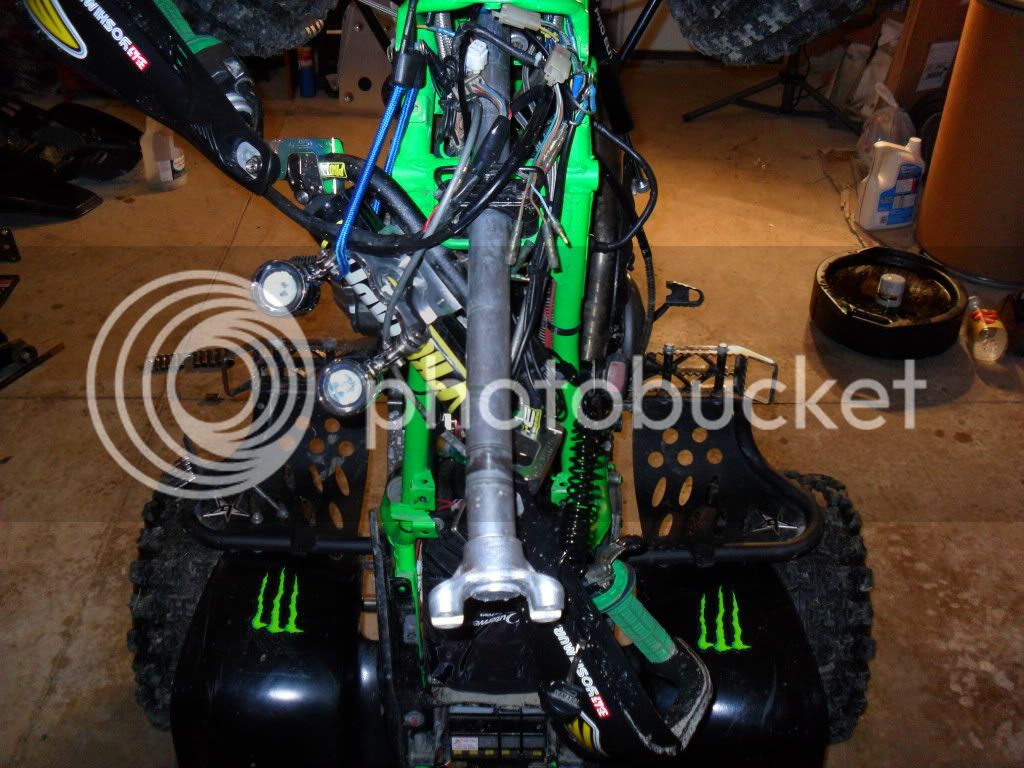
Take a flat blade screw driver and pop the bottom and top stem seals out.
http://
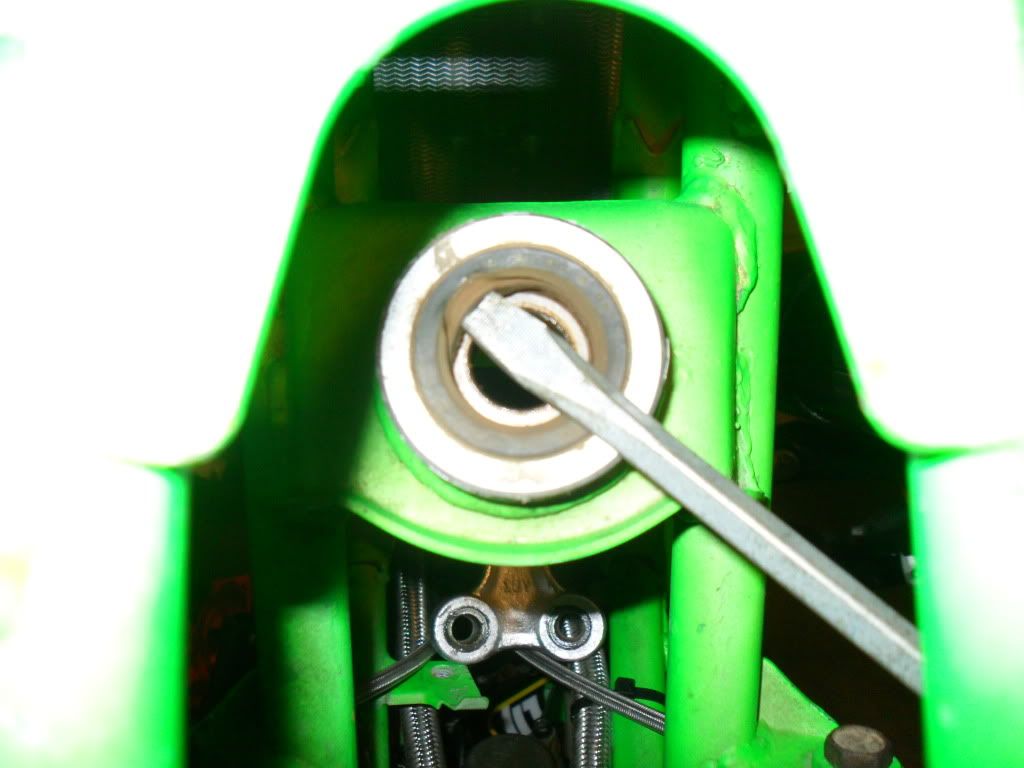
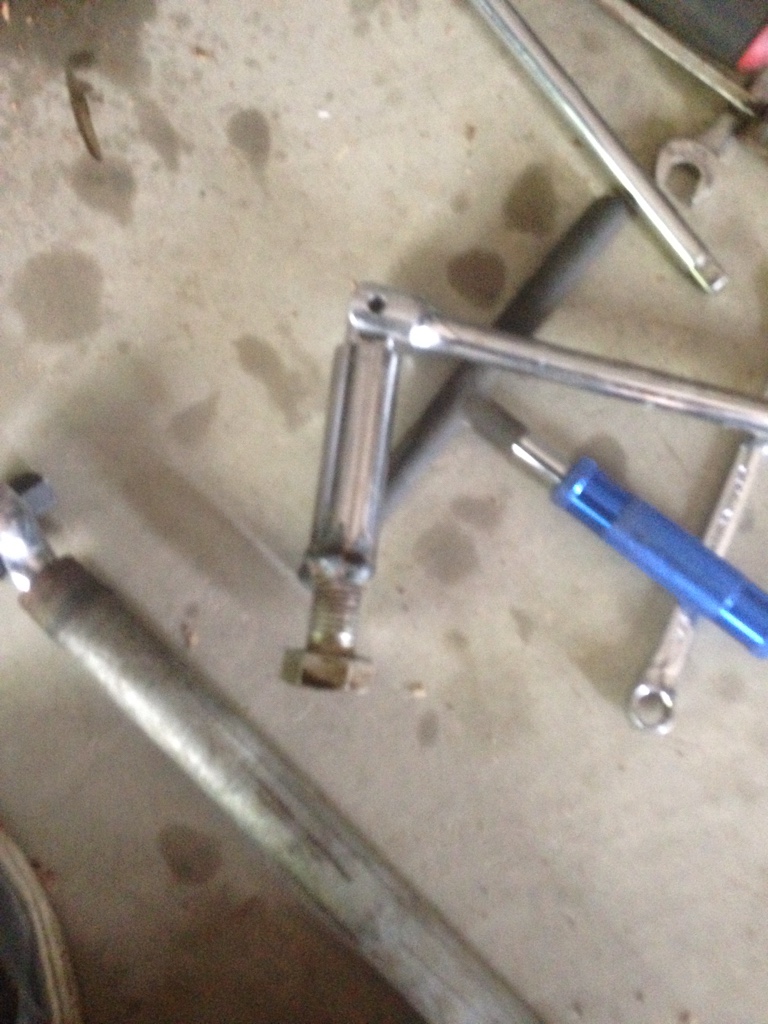
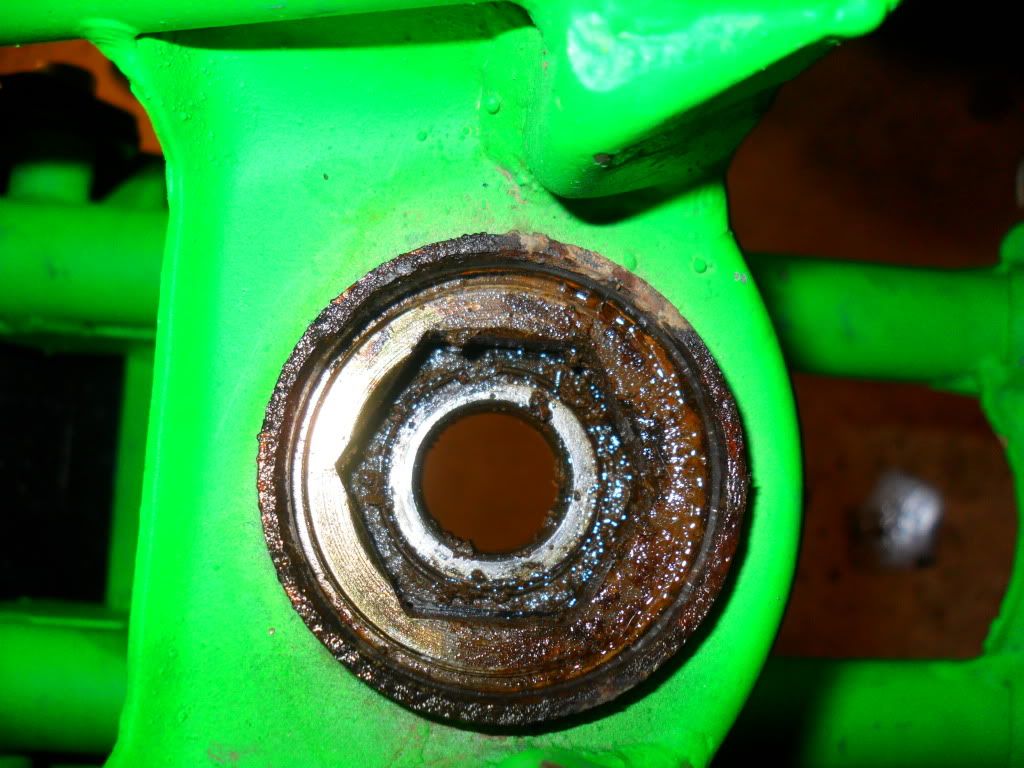
Now you see the 30mm hex collar that keeps the bearing held down. This is the hardess part of the whole task. This collar will be rusted in there so start by drenching it with PB-blaster, or WD-40. Yamaha does make the right tool to get this out but they want 60 bucks for it, so what i did was went to Ace hardware and got a bolt that the hex head was 30mm and 2 nuts to fit it. Put both the nuts on it and tighten the bottom nut to the top one and use it to break the collar loose. You may need to use heat to expand the frames collar threads. I let the collar soak for 2 days with penatrating oil so it broke loose right away.
http://
http://
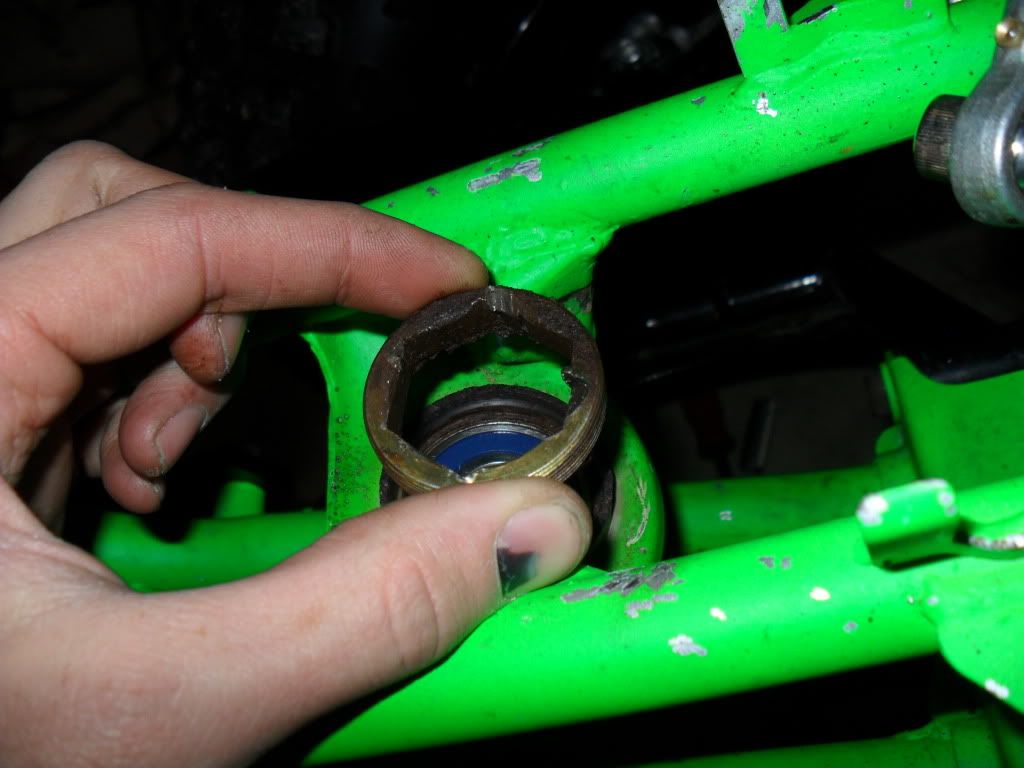
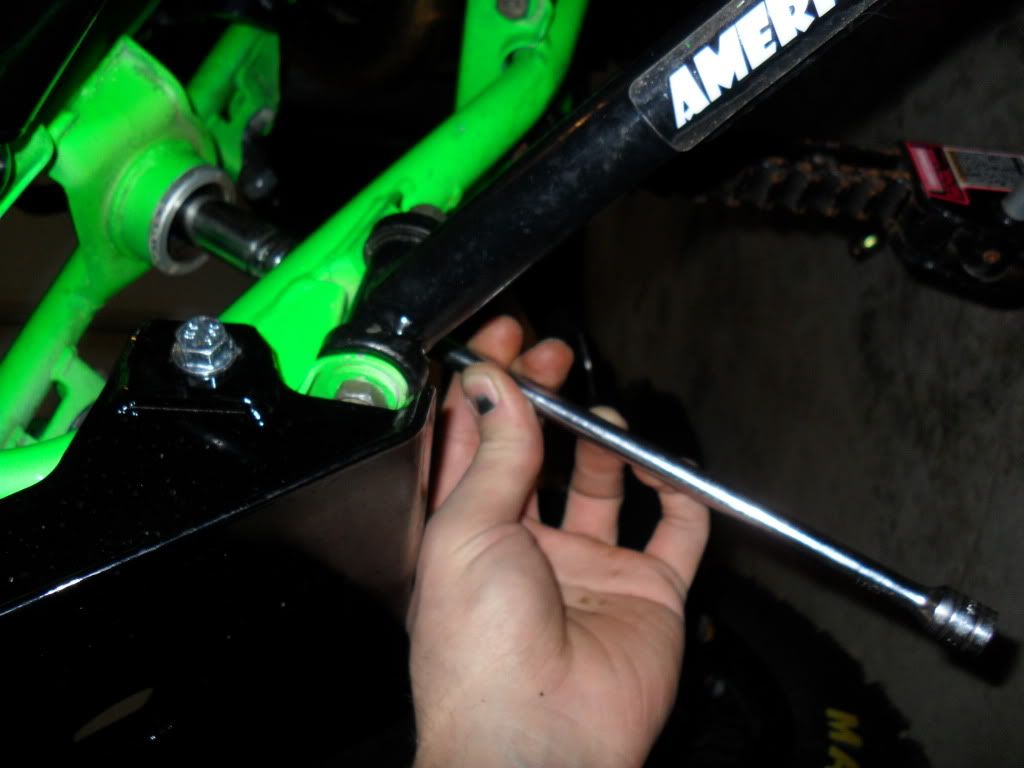
Once the collar is out I used a long 3/8 extension with the right size socket and evenly hammer the old bearing out.
http://
http://
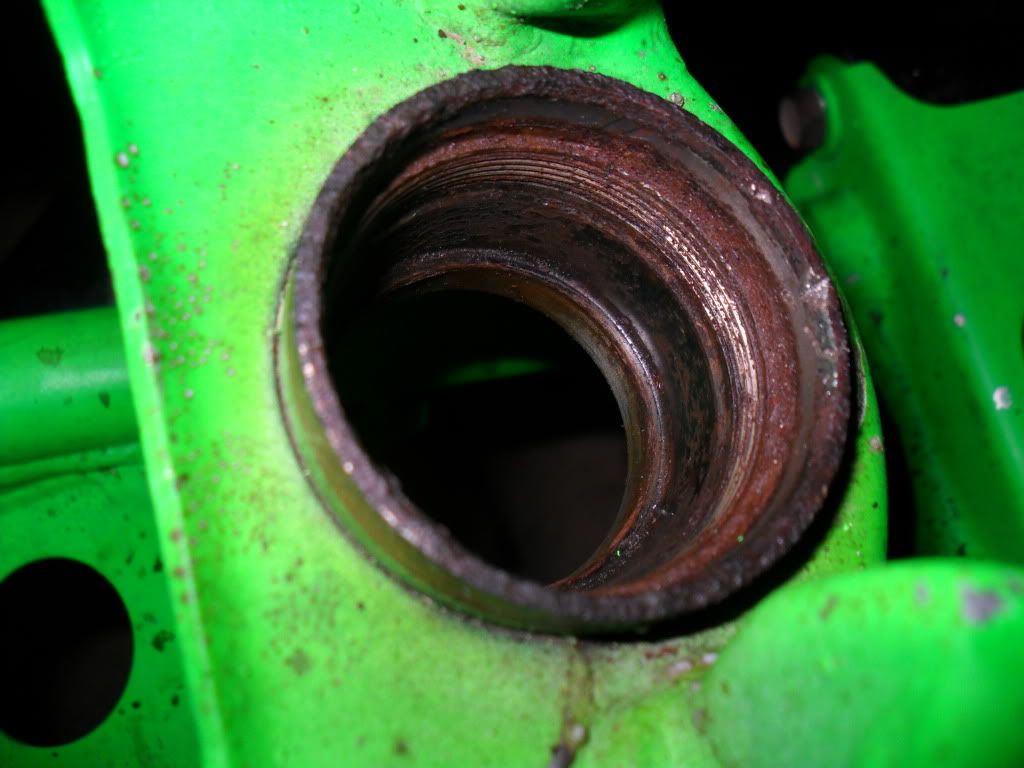
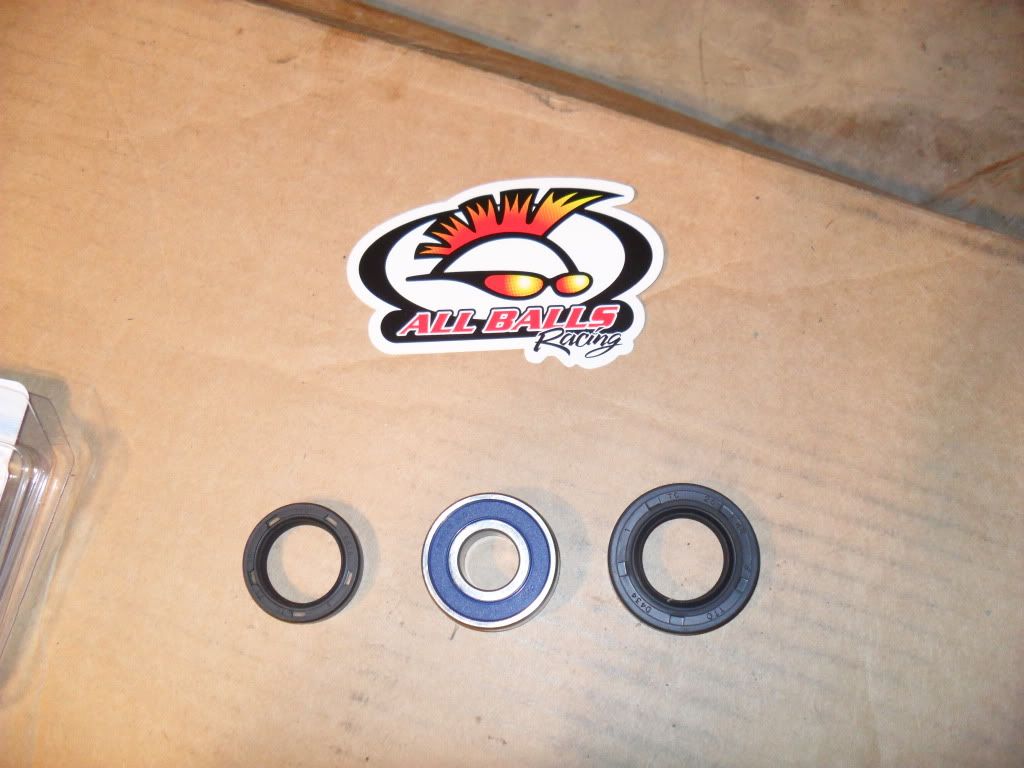
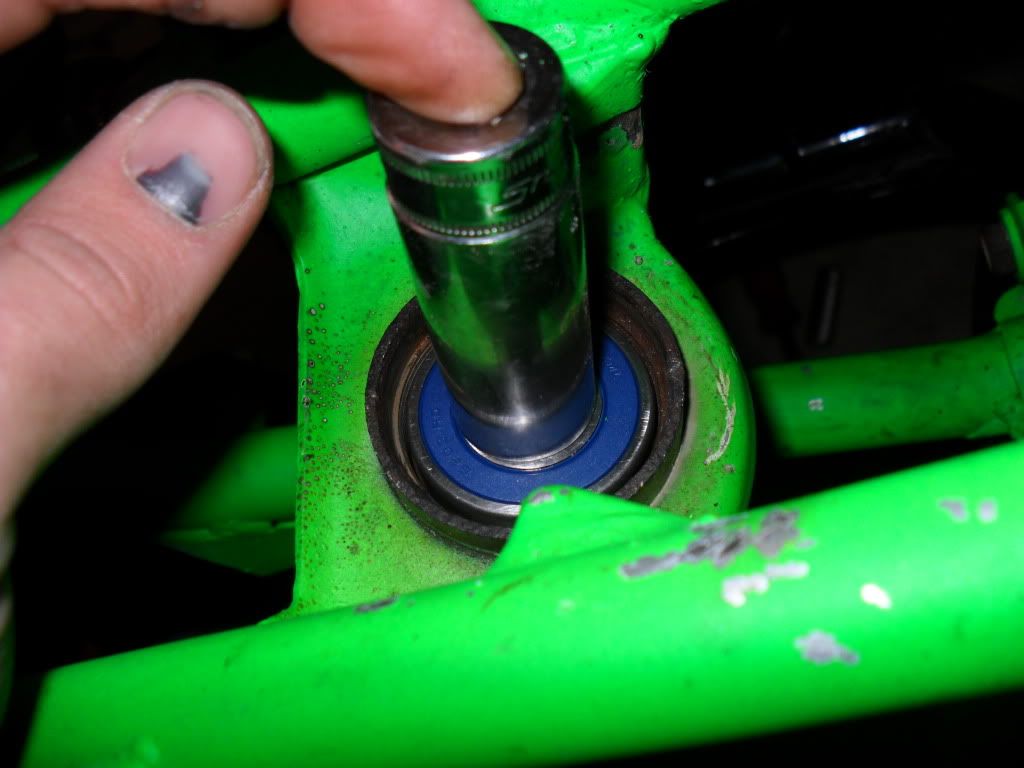
First clean the threads and mating surfaces real good with some cleaner. Put the new bearing in the hole and use the same socket to evenly hammer the bearing in till it bottoms out.
http://
http://
http://
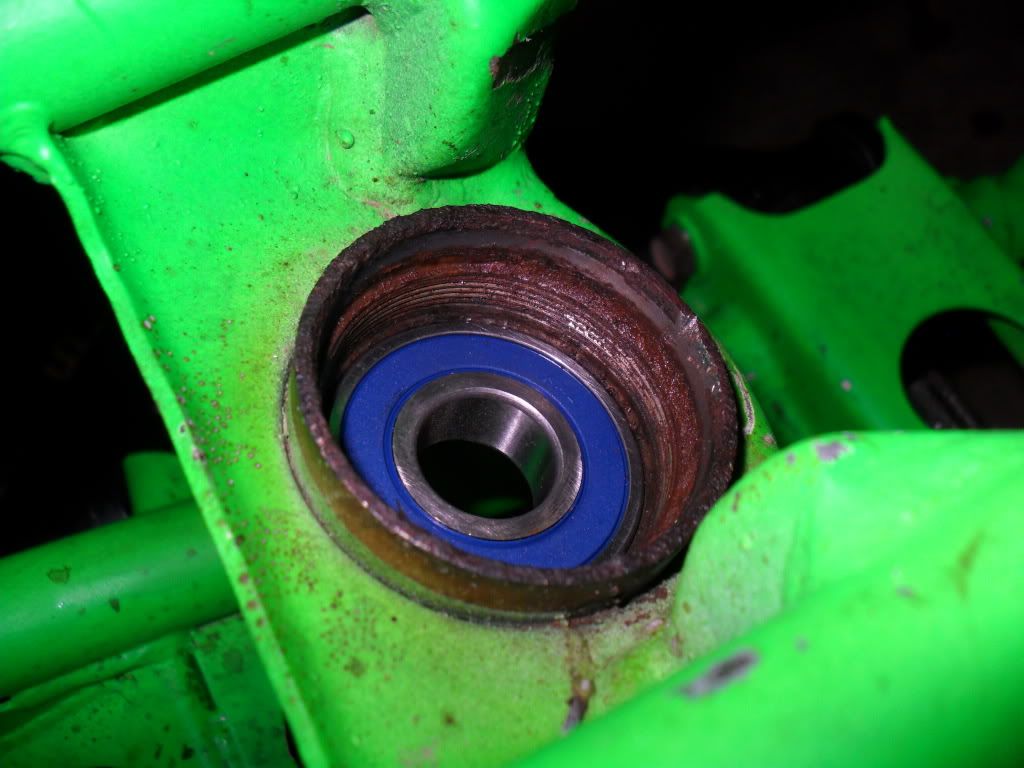
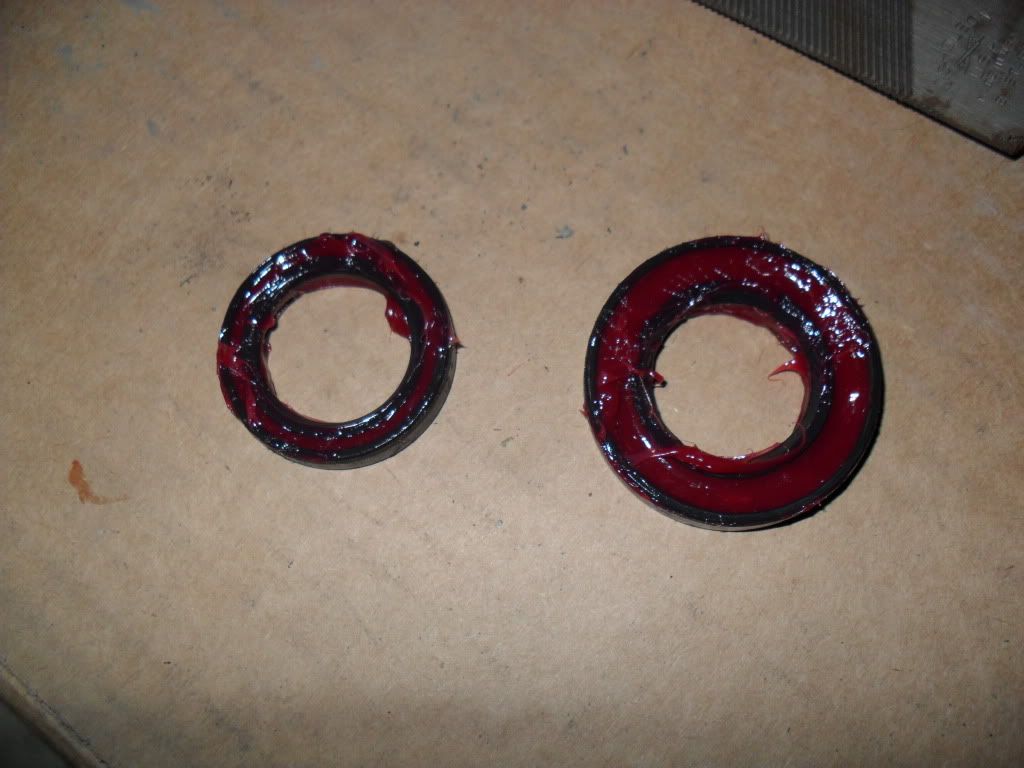
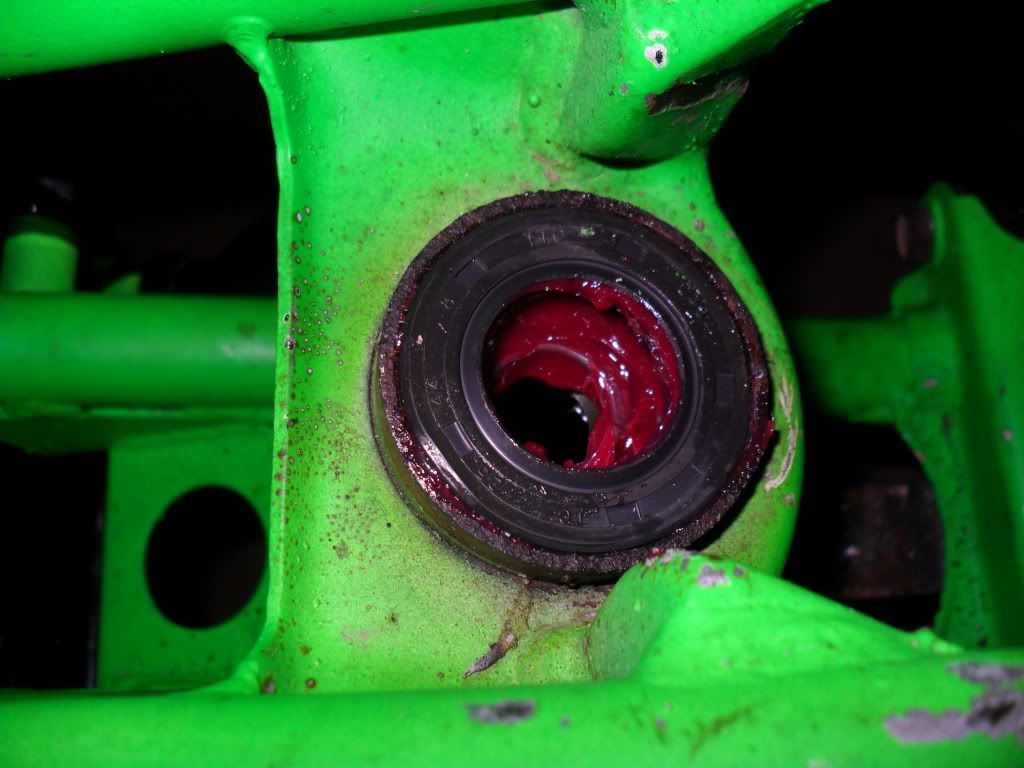
Now its time the put both seals in. Fill both seals with a good high temp, or waterproof bearing grease. This will help everything from getting rusted together again. Hammer both seals in till they are flush with the lip.
http://
http://
Thats it, now you just have to reverse the proccess and put the stem back together, bolt the bars back on, the tie rod ends, gastank, fenders, hood and headlights.
1st step is take off the front fenders, hood, headlights, and gastank.
http://

Next stand the quad on its tail so it will be easier to access the steering stem bolt. Unbolt the tie rod ends from the stem and get them outta the way. Now unbolt the bottom stem bolt so the stem can slide up and outta the way. You dont have to take the upper stem mount off, but you will need to take the handle bars off so the stem will slide up. No need to take all the controls off the bars, just unbolt the bars and move them outta the way.
http://


Take a flat blade screw driver and pop the bottom and top stem seals out.
http://

Now you see the 30mm hex collar that keeps the bearing held down. This is the hardess part of the whole task. This collar will be rusted in there so start by drenching it with PB-blaster, or WD-40. Yamaha does make the right tool to get this out but they want 60 bucks for it, so what i did was went to Ace hardware and got a bolt that the hex head was 30mm and 2 nuts to fit it. Put both the nuts on it and tighten the bottom nut to the top one and use it to break the collar loose. You may need to use heat to expand the frames collar threads. I let the collar soak for 2 days with penatrating oil so it broke loose right away.
http://

http://

Once the collar is out I used a long 3/8 extension with the right size socket and evenly hammer the old bearing out.
http://

http://

First clean the threads and mating surfaces real good with some cleaner. Put the new bearing in the hole and use the same socket to evenly hammer the bearing in till it bottoms out.
http://

http://

http://

Now its time the put both seals in. Fill both seals with a good high temp, or waterproof bearing grease. This will help everything from getting rusted together again. Hammer both seals in till they are flush with the lip.
http://

http://

Thats it, now you just have to reverse the proccess and put the stem back together, bolt the bars back on, the tie rod ends, gastank, fenders, hood and headlights.


