1999 Warrior Rebuild "Jar-Jar"

Yamaha Raptor 350 & Warrior Forum

Help Support Yamaha Raptor 350 & Warrior Forum:

This site may earn a commission from merchant affiliate links, including eBay, Amazon, and others.
Yes, pics please.

Anything specific Pat or just start snapping away. Jar-Jar himself isnt much to look at with everything torn off to get the motor out!! Ill definatly get pics of the motor and the old head.

I've been wondering about those cdi. Some people hate them others love um. Keep us updated on how you like it. I'm really interested in hearing your experience with it

Only problem so far is they are a pain to find since Dynatek quit making them. The one I got was lightly used, as in it still looks new and even had all the paperwork and stickers yet! Hopefully once the motors back together it either drys up a bit or the ground freezes so I can start the top end break in and give some feedback on it


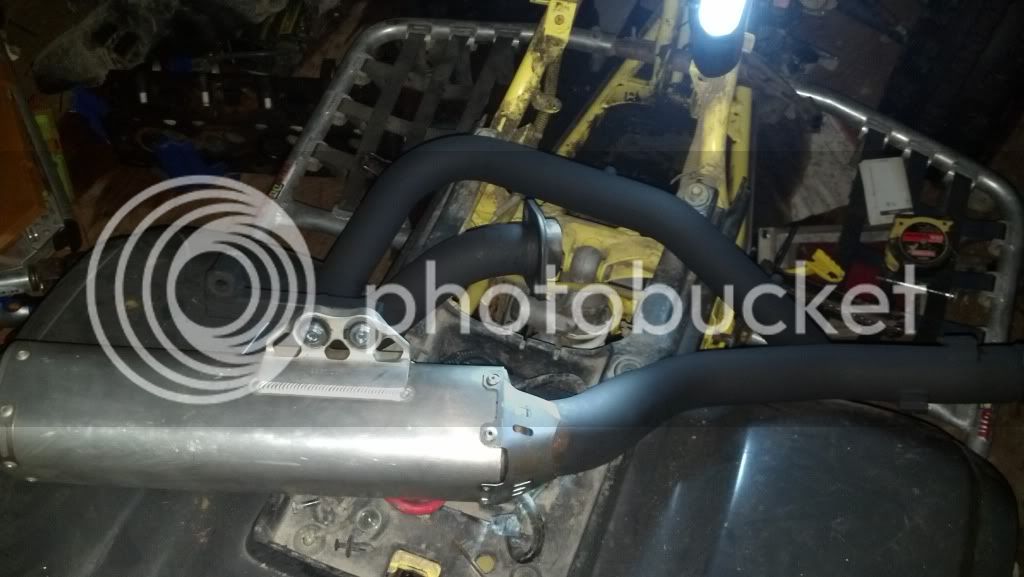
On another note that I forgot about. I finished the fabbing of the bracket to mount the Yoshi and extending the pipe a little. Now I just need to finish cleaning up my welds and throw a little paint on. I think you guys will like it!
 
Thought so!!! I am extremely stoked about finally getting this done finally though. Otherwise I probably would have snapped some today!!
 
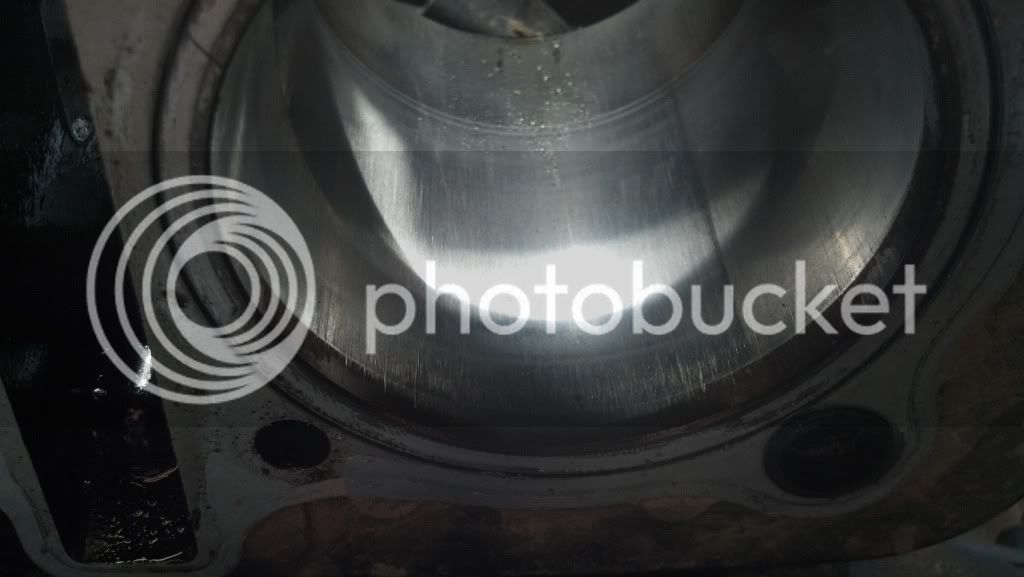
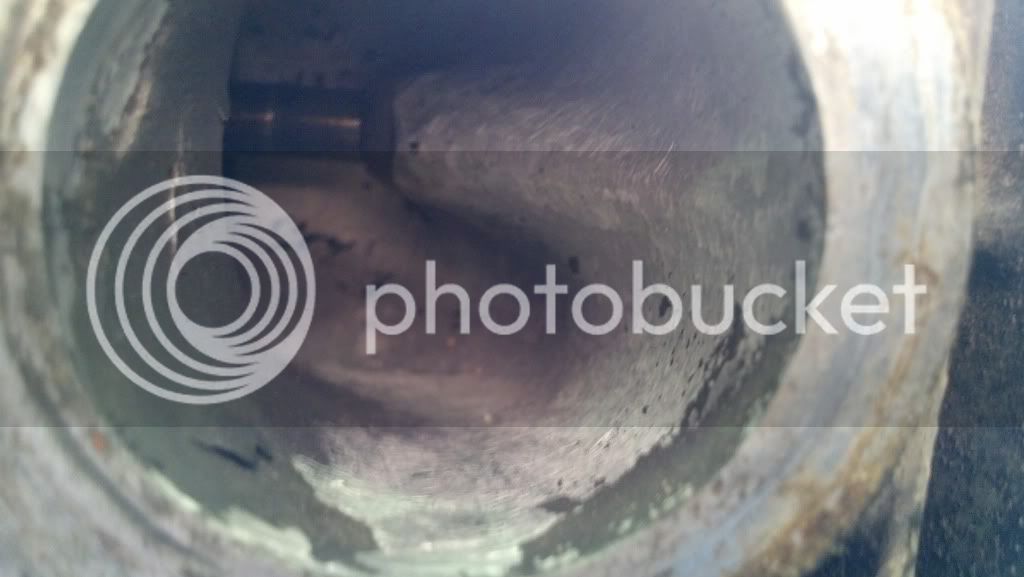
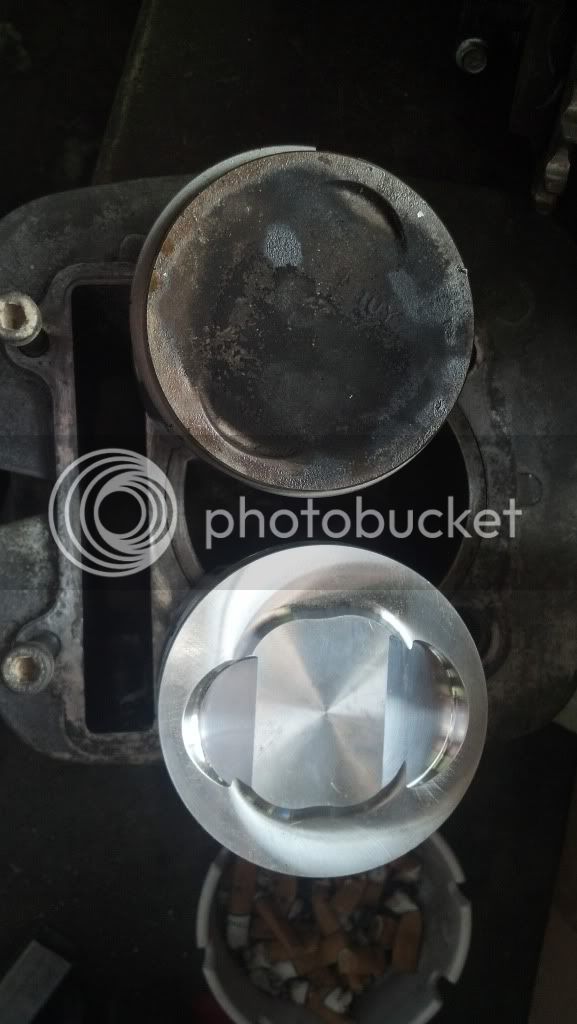
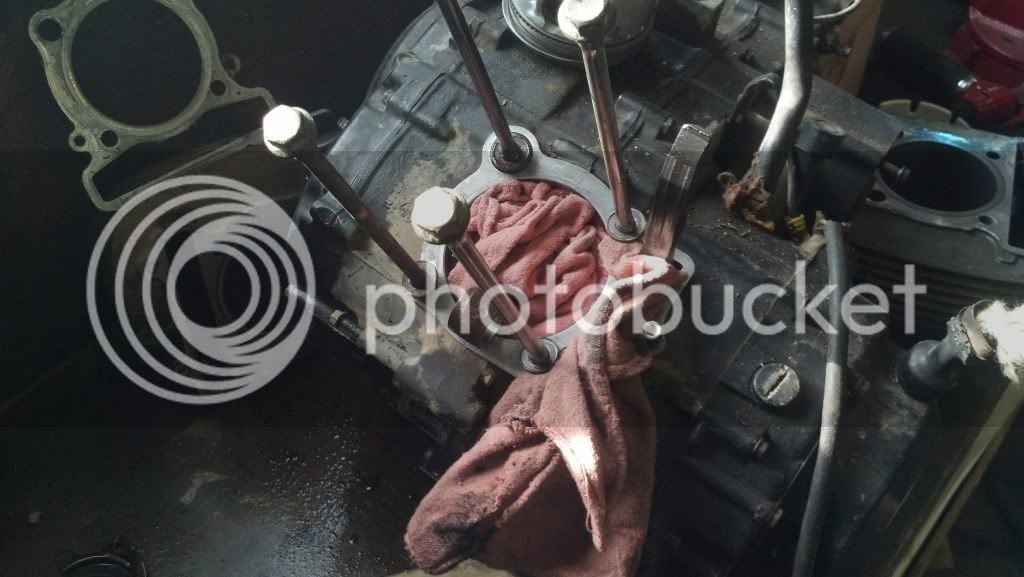
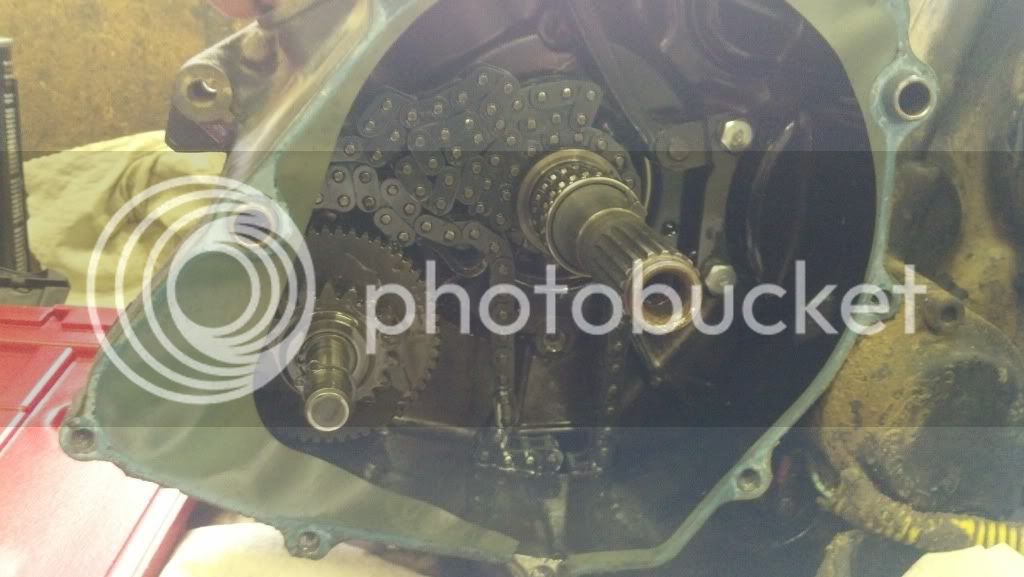
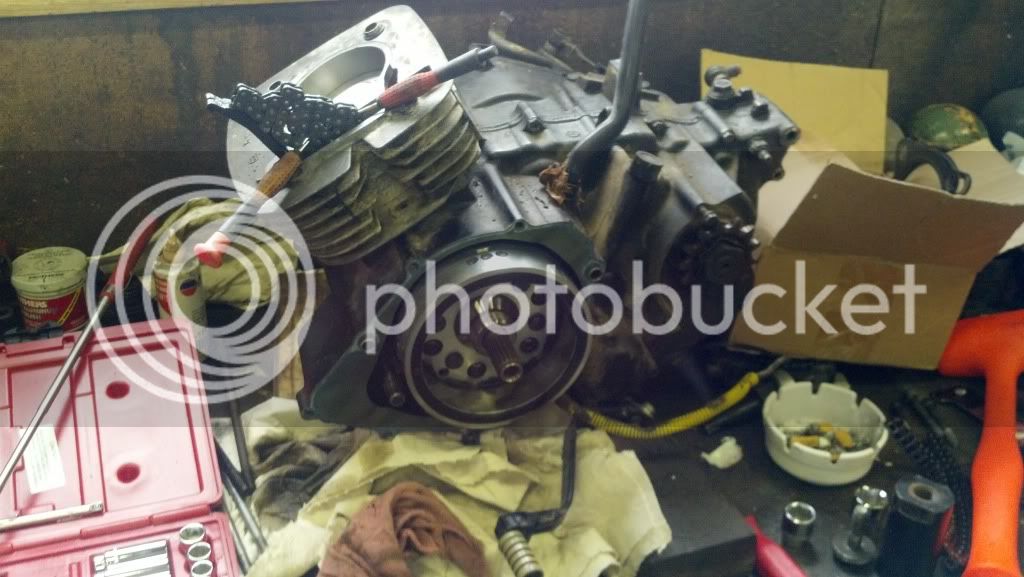
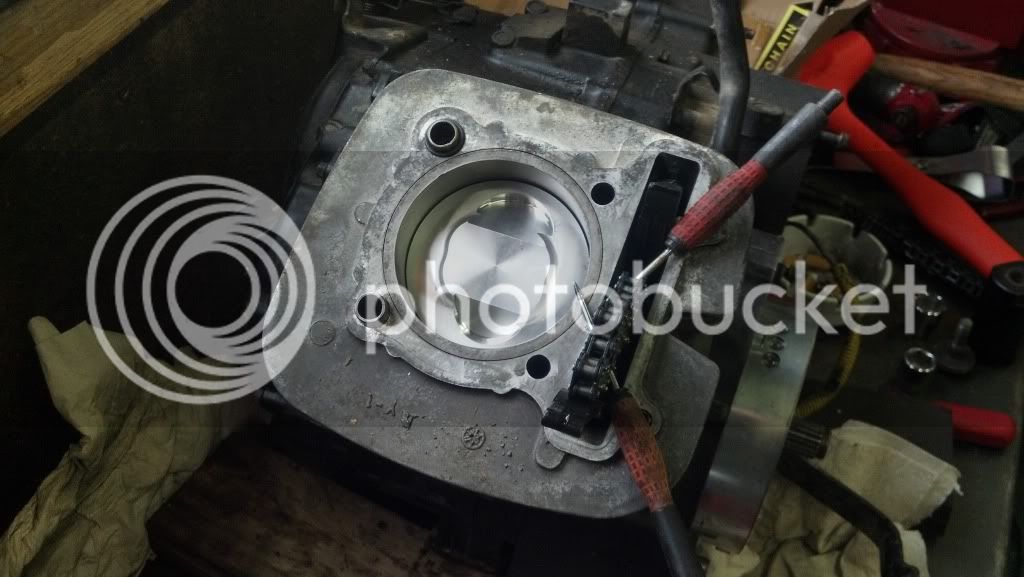
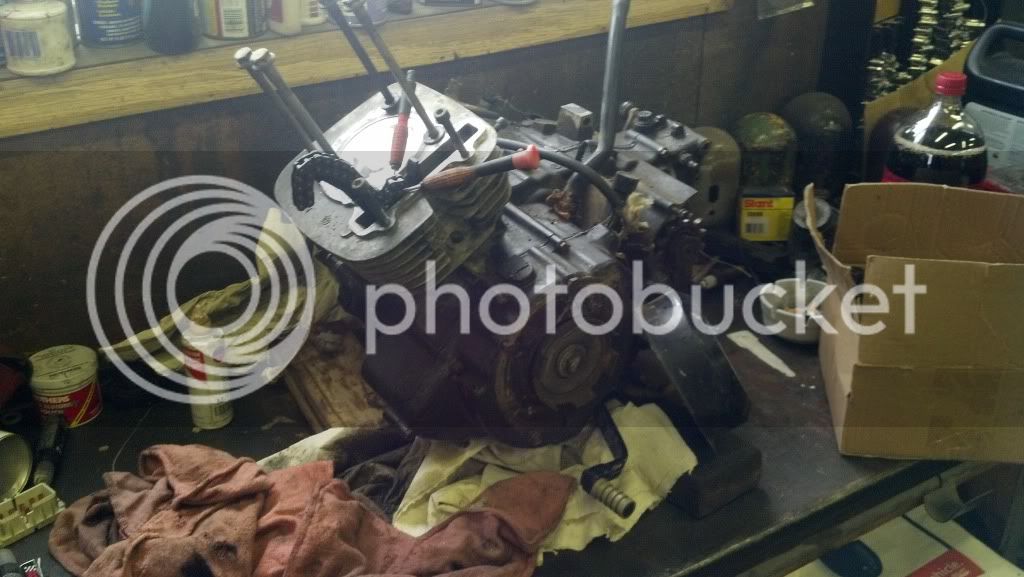
Called the machine shop today and it sounds like I wont have my head back till next week sometime. So in the mean time Im gonna start putting it together to the point of needing the head in the next day or 2. Ill get some pics while Im doing it to. Heres some pics of of the old parts and how the motor sits.

2013-03-13_16-18-15_979_zpseca572fe.jpg

2013-03-13_16-17-48_29_zps8e872649.jpg

2013-03-13_16-17-31_912_zps2f9aca1e.jpg

2013-03-13_16-10-56_166_zps483451ab.jpg
 
Cool. Very familiar site. Lol. If you want to make that timing chain easy on yourself, take it back off and get the top end bolted together. That way you don't have to dick around with the chain, and can make sure the front chain guide is in it's holds. After you get that all torqued down, slide the chain down the chain valley, hold it with one hand up top, and slip it over the end of the crank with the other. Little difficult, but it works good. It is a tight squeeze but you can get the chain between drive gear teeth and the front guide.

OR... you can let the chain sit in the bottom end, and just fish it up with a strong magnet wand.
 
The pics are actually in order. The pic of the chain in the crank was from the tear down, I knew I was replacing it so I just let it drop. Ive done top end work before and have had pretty good luck doing like I am. If all else fails I do have my Mac magnet!!!
 
Im just starting to get antsy to get it back together and broke in. So much in fact I was actually shaking as I was assembling it!!! LOL
 
Well since Im waiting for my head I figured it was time to get the exhaust prepped for the new setup. 2000* header paint in black of coarse!!! I need to bake them yet, but thats gonna have to wait til the wife isnt home!! LOL Either that or it gives instructions on how to bake it using the engine running! And yes I am gonna wash Jar-Jar before I start putting the motor back in!

2013-03-17_20-20-42_803_zpsa75789f2.jpg
 
It doesn't smell that bad, actually. I used the same stuff on my header. I decided it wasn't worth making my own header. I just sprayed it and ran it.
 
Ive used something similar back on Red Headed. I usually do the baking on the header, since it will actually fit in the oven. Then do the motor backing for the slip on.
 
Baked the header tonight so its ready to go. The other half Ill have to do the on bike baking on. Also going to pick up the head in the morning, its finally done. With all or any luck the motor will be back together tomorrow and Ill get it put back in the frame and start the break-in this weekend.
 
That's what I'm doing starting tonight. Breaking it in. Gotta take pics for elite tonight, too.
 

Latest posts

Back
Top