restoring plastics

Yamaha Raptor 350 & Warrior Forum

Help Support Yamaha Raptor 350 & Warrior Forum:

This site may earn a commission from merchant affiliate links, including eBay, Amazon, and others.

The98warrior

Well-Known Member
Joined
Mar 25, 2012
Messages
106
Reaction score
0
Location
South Houston
iv searched but havent really found the steps for doing it. so can someone be more specific on how to do this. iv seen pics of some of yalls plastics after restoring them and they look brand new!?!? really need to do this bad. i still dont know why theres not a sticky on this.
 
I dunno if I have ever read any true restore plastics threads on here.

To take the bends out, guys use heat guns or blow torches. Simple Green makes them look all shinny.

Some guys spray paint them. Graphics kits are a good way to hide crappy lookin plastics. There is a new post started on dyeing them.
 
yea iv seen the dyeing thread but iv seen a couple guys on here that have plstics that look like mine all dull and faded and made them look like new. and i would get a graphic kit but iv seen them go for 160 on ebay and if i have that kinda extra money to throw in this it wont be on graphics. still gettin it right before all that.
 
Try dying them dude. That way it doesn't just crack off. Dying plastics does restore plastics deeply in my mind.
 
semi-conscious this is the member that really caught my eye on him restoring his. i pm"ed him but didnt get a response
 
lol nvm i read to fast and thought you said plastics instead of graphics. thats not bad. but i hate the white and blue combo i have i want red.
 
i know of 4 options
1)wet sand with fine sand paper
2)torch keep it moving and about 6inches away
3)heatgun
4)headlight plastic renewal kit and polish just like headlights
 
I did my son's little yellow DS80 rear fender that was sun burned.

Started with a razor scraper pulled backwards (yes, the fender was almost white), getting a majority of the white off.
Followed up with 220 wet, then 400, then 2000 (way too fine, but it's all I had), then Meguiar's Diamond Cut compound with a foam pad.
Turned the pad only about 1200 RPM, still burned it in a few spots from heat.

Came out just OK, but took forever. Don't expect a "show car shine".
If I do any more, I will try a wool pad with the same compound. May or may not make any difference.
 
im going to be trying out Krylon Fusion paint on my red middle plastics to see how it holds up.. if it holds up well(which by reports it will) I will be painting my blue fenders etc too... my plan is to sand the plastics with a Random orbital sander at 120,220 and then 1500 grit then quickly run a torch over them to make them smooth before paint is applied and then not sand the paint at all cause that would have to be done by hand and im lazy also using TPS solvent to clean before applying paint

The colour of paint I will use is going to be as close a match to the plastic colour as I can find so that if/when it does scratch it will look like a normal scratch not have a different colour

Ill be sure to take lots of pics :)
 
Painted my red plastics today with krylon Fusion..

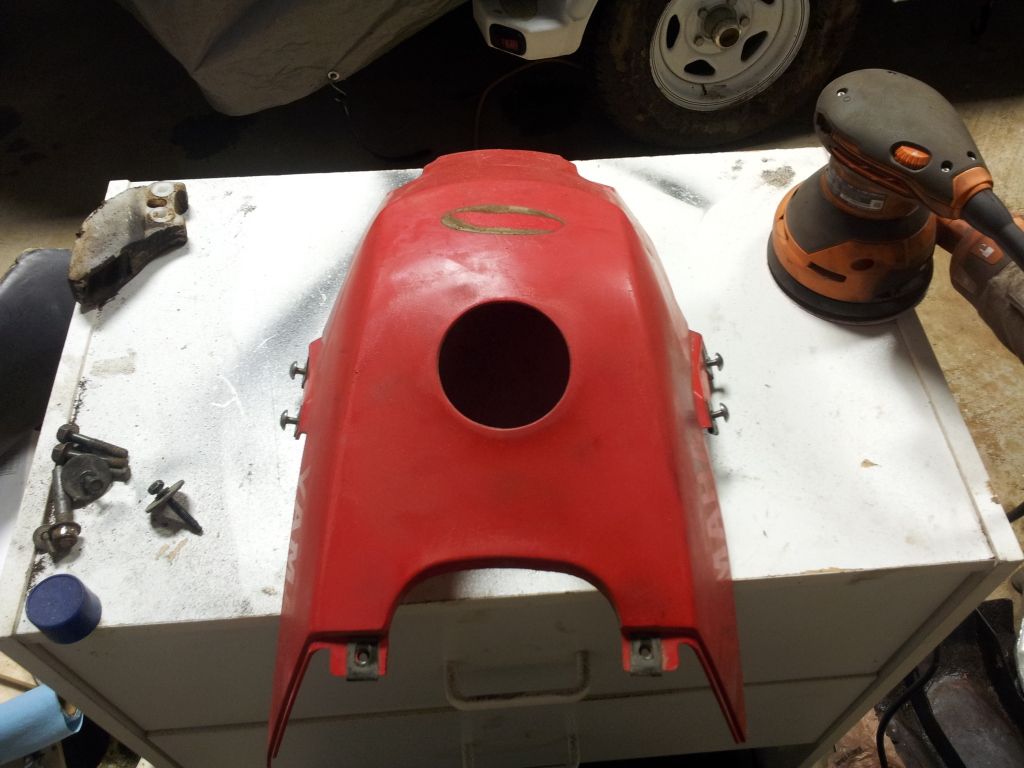
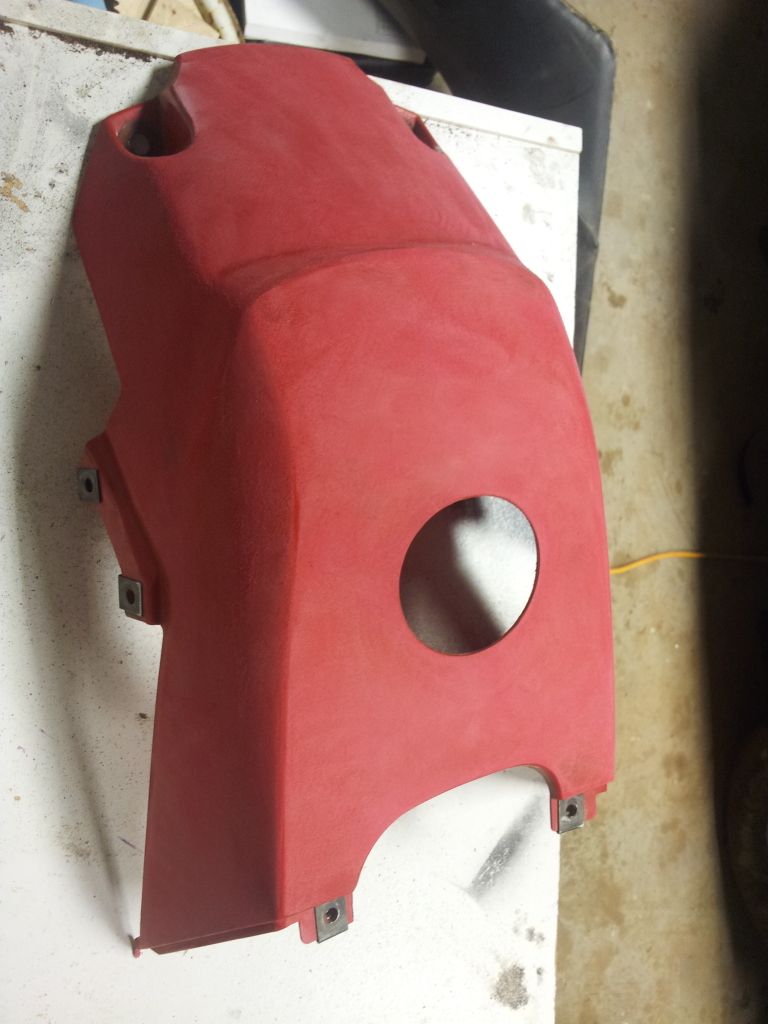
The Tank Cover before.. trust me its not as good as it looks
20120503_231034.jpg


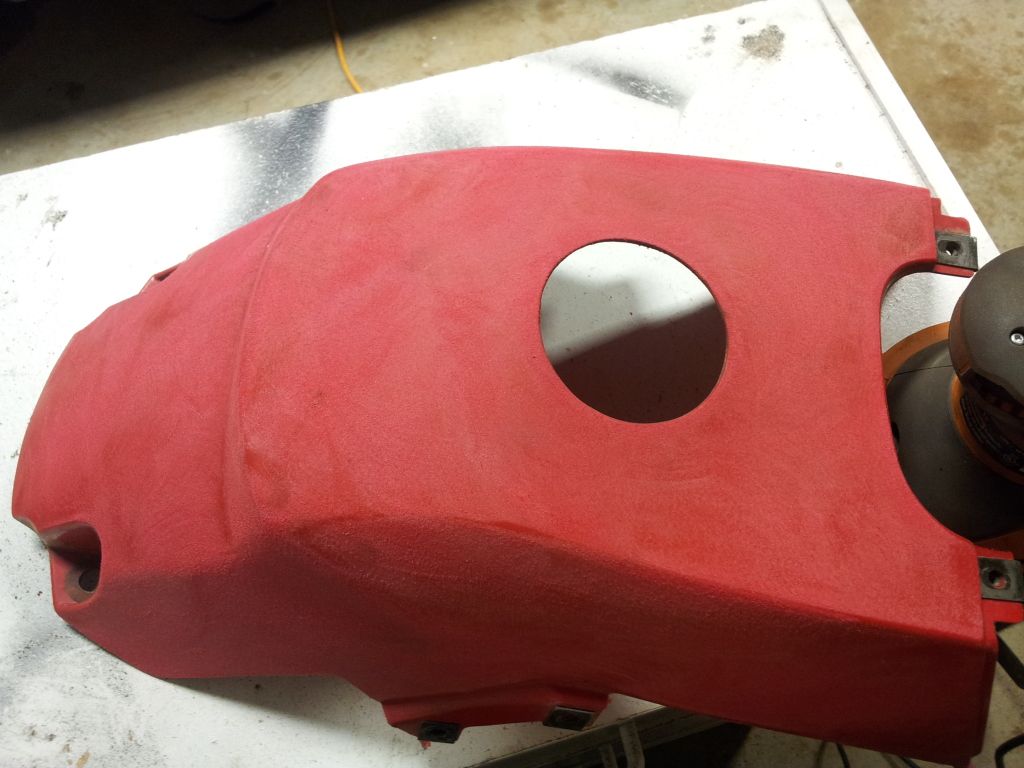
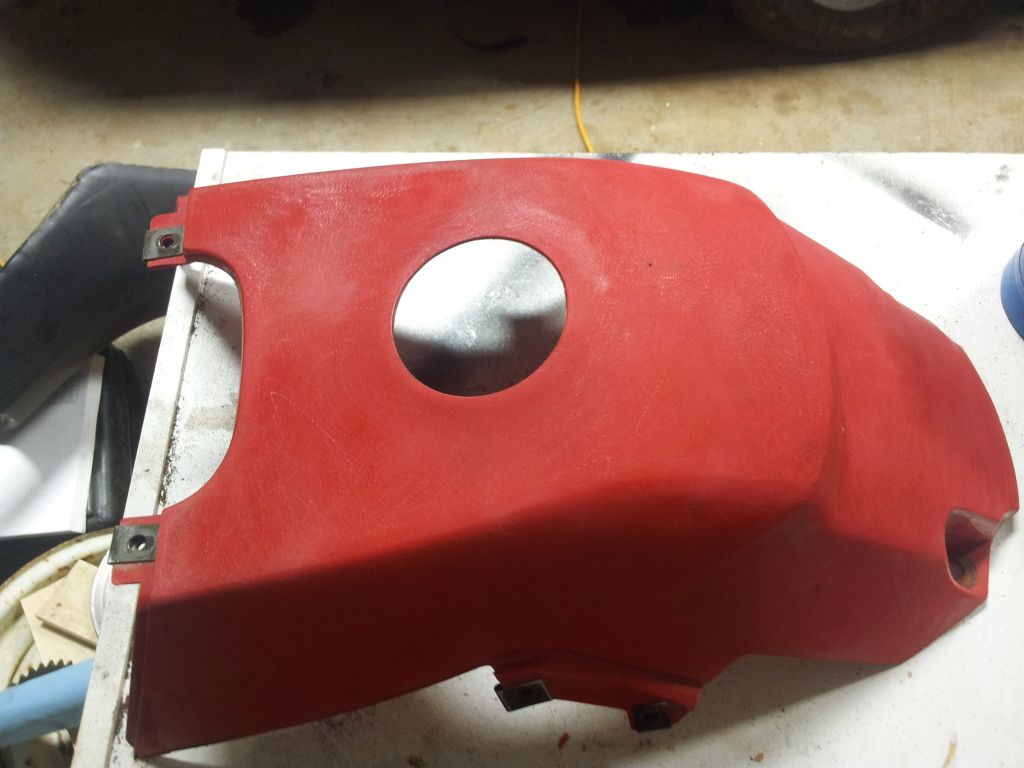
After some 80Grit...
20120503_231855.jpg


Then did some 220 Grit...
20120503_231626.jpg


Then I used a torch to heat it a bit... Not sure what the torch does I just know i always see people do it before painting plastic...
20120503_232210.jpg


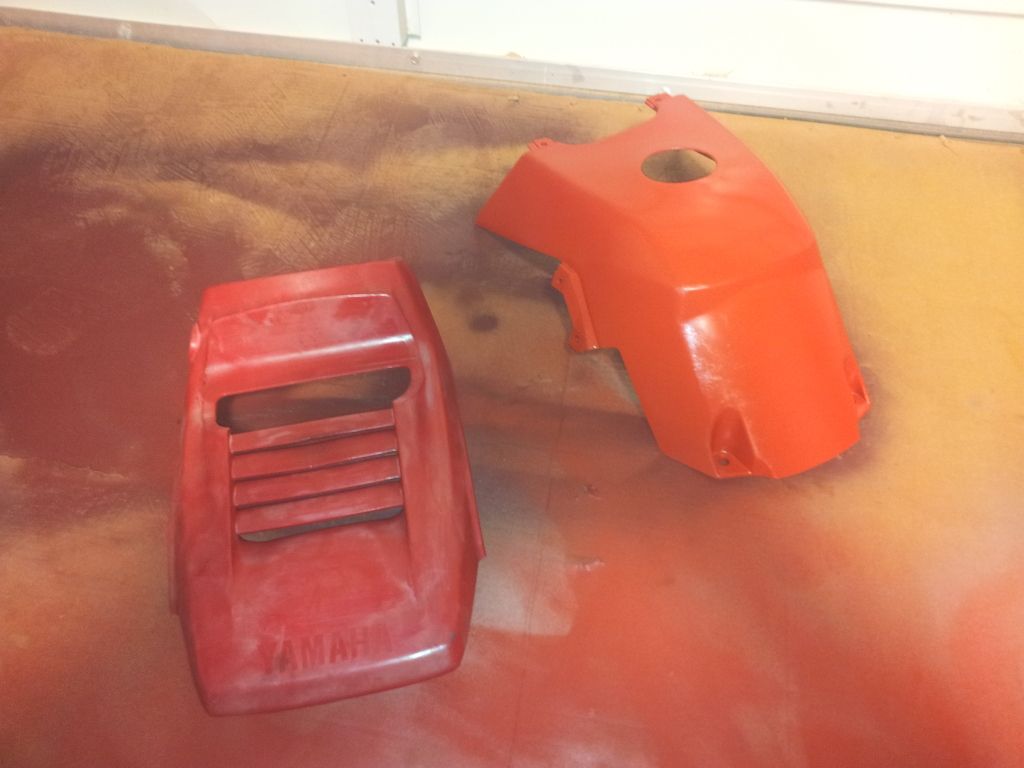
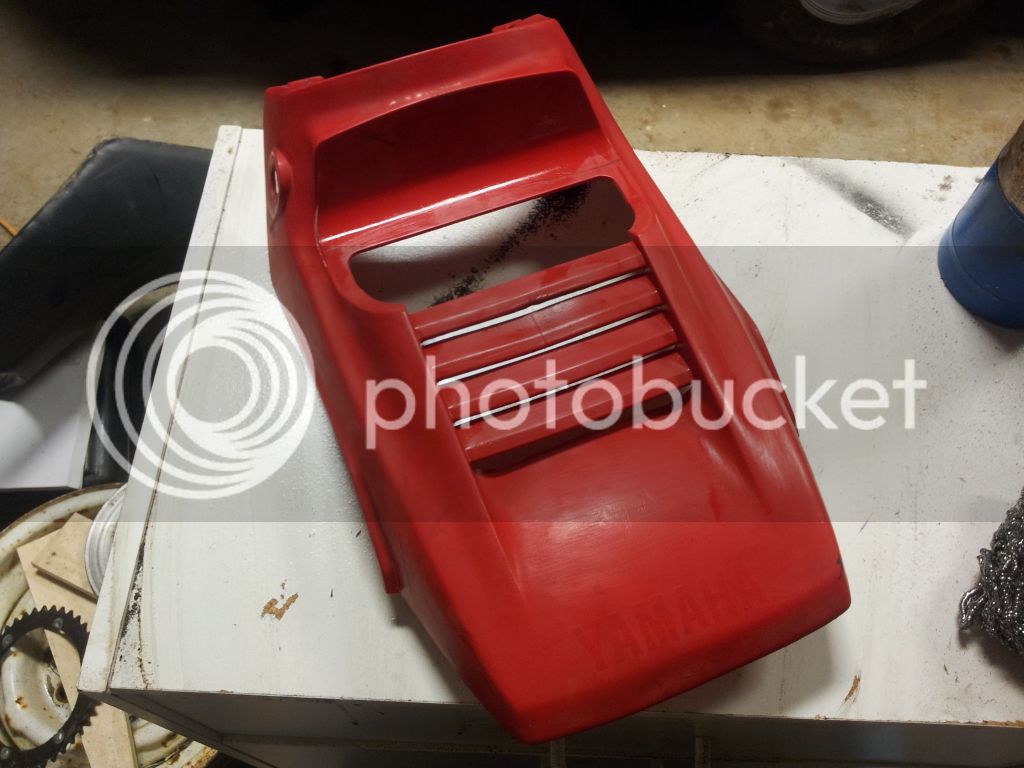
Then for the hood I only used TSP to clean it no sanding.. thought id see if any prep is really neccesary, after the TSP I used the torch again
20120503_234656.jpg


Tank painted(not as orange as pic looks id say its OLD yamaha red) and front fender before paint showing how bad it actually is when in person...
20120503_234847.jpg


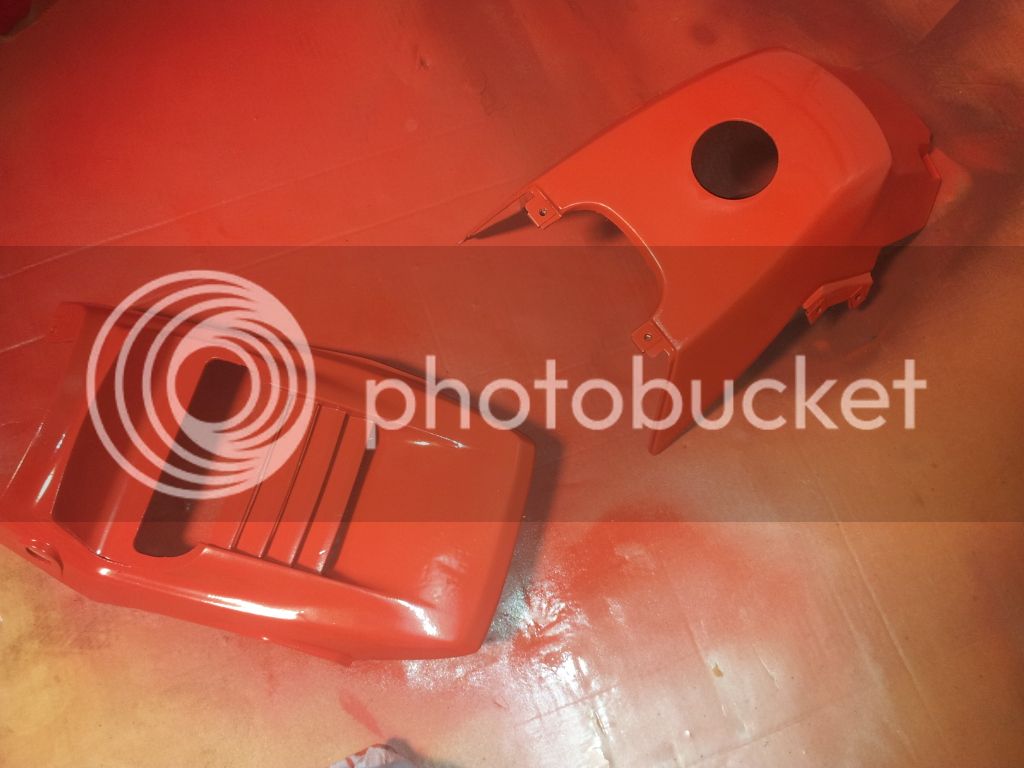
Both painted...
20120504_000437.jpg


by looks they both turned out the same.. the can says it takes 7 days to fully cure so I am going to wait that long before touching it at all and then we shall see if they both hold up well

I can definitely say that the fusion fills scratches etc well.. notice how the bumpy "yamaha" lettering is gone from the hood
 
Last edited:
Back
Top